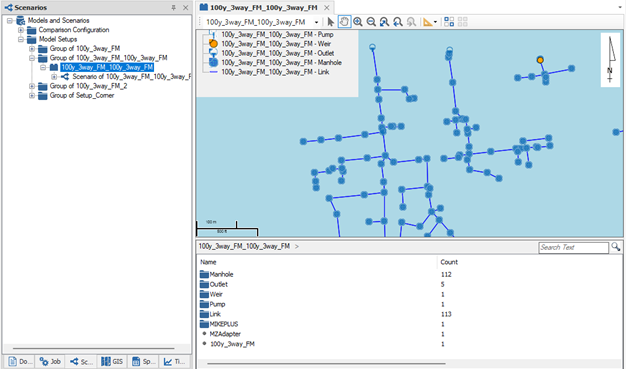
MIKE+ Adapter
The MIKE+ adapter enables use of MIKE+ model setups within the MIKE WORKBENCH.
MIKE+ combines the power of the MIKE product portfolio. MIKE+ allows users to integrate, model and manage all water systems on one platform for the most comprehensive analyses. From water distribution and collection systems to rivers and flooding.
Limitations
The MIKE+ adapter is currently limited to working with River, Collection system and overland flow models.
Model Object Types
The following model object types are supported by the MIKE+ adapter.
- Catchment
- Catchment input
- Boundary
- Basin
- Cross section
- Calculation point
- Manhole
- Outlet
- Pump
- Sewer junction
- Valve
- Weir
- Link
- ECO Lab output
- ECO Lab source
- Hydro Dynamic Output
- Hydro Dynamic Source
- Mud Transport Output
- Particle Tracking Output
- Sand Transport Output
- Transport Output
- Wind Forcing
Model Registration
The MIKE+ model should be registered from within the Scenario Explorer of the MIKE Workbench. The below screens show how the registration could look like.
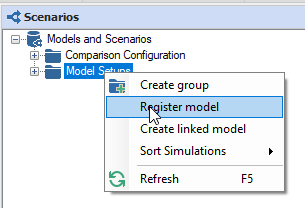
When registering a model, a new entry for the MIKE+ model will appear.
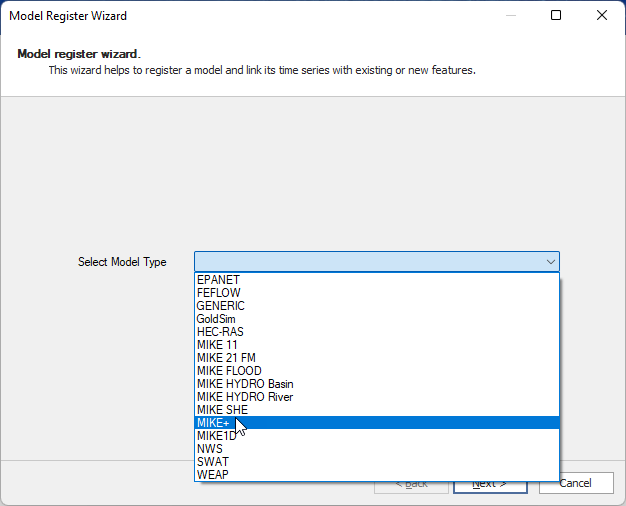
When selecting model type MIKE+, the Model register wizard will display a dialog where the necessary MIKE+ model information can be specified.
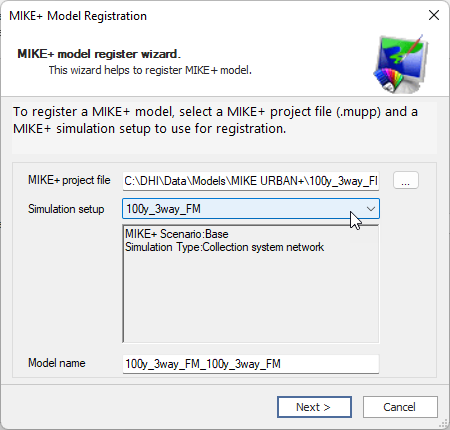
Table 5 - Model registration wizard (Page 1) - MIKE+ model Information
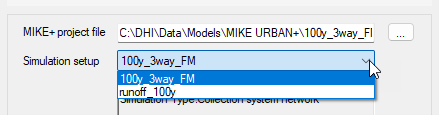
On the first page of the model registration wizard, the MIKE+ project file should be specified and the Simulation setup selected.
-
MIKE+ project file
Select the MIKE+ project file(*.mupp). After selecting a project file, the project file will be parsed, and the available simulation setups will be shown in the Simulation setup dropdown. -
Simulation setup
Select the simulation setup of the MIKE+ project to register.
-
Model name
Specify the name of the model (by default, the name is set to the name of the MIKE+ project).
Click Next to parse the model and continue the model registration.
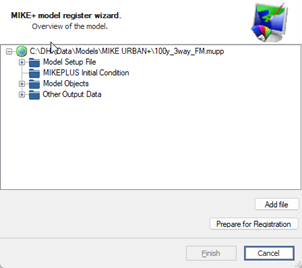
On the second page of the model registration wizard, an overview of the simulation setup parsed is shown.
Here the content of the model setup parsed can be reviewed and additional initial conditions, model objects and other files can be added.
Once the simulation setup has been reviewed, click Prepare for Registration and Next to Finish to continue.
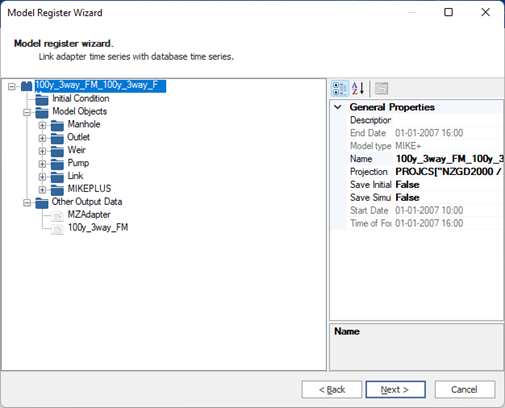
Click next to display the default Specifications page.
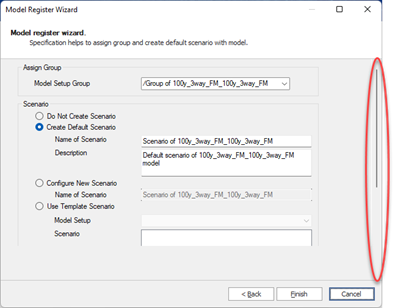
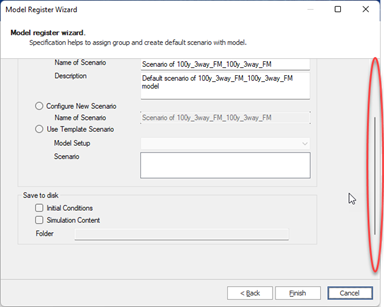
Scroll down to configure saving initial conditions and simulation content to disk.
This dialog allows specifying the location of the model setup in the scenario explorer as well as configuring the scenario.
-
Model Setup Group
Specify the path in the scenario explorer where the model setup should be stored. -
Scenario
Configure the scenario of the model setup. -
Do Not Create Scenario
No scenario will be created. -
Create Default Scenario
A default scenario will be created, with no model object, input or output included. -
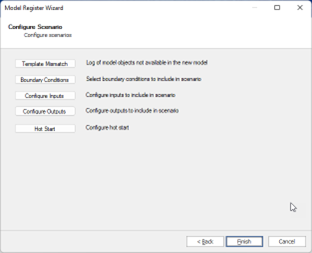
Configure New Scenario
Configure a new scenario with using the wizard.
-
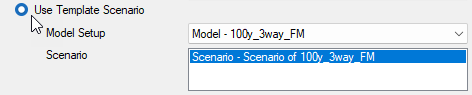
Use Template Scenario
Use an existing scenario as a template scenario by selecting the model setup containing the scenario to use as template as well as the scenario to use.
-
Save to disk
- Initial Conditions – Save initial conditions to disk.
- Simulation Content – Save simulation content to disk.
- Folder – Folder to save to.
Specify the necessary information and click Next to continue to register the model.
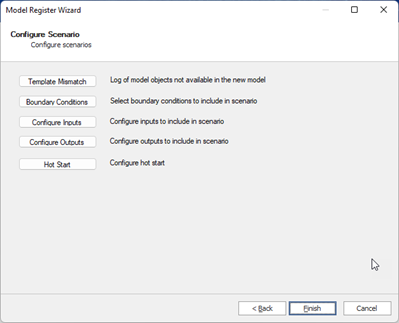
In case 'Configure New Scenario' or 'Use Template Scenario' has been selected, clicking Next will show a 'Configure Scenario' page.
-
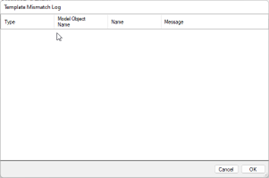
Template Mismatch
List of model objects, input and output not matching the template scenario.
The dialog is empty if no mismatch was found.
-
Boundary Conditions
Configure boundary conditions.
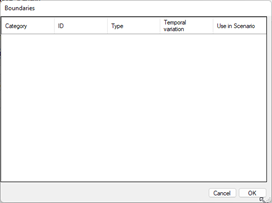
- Category - Table the item was read from (Boundary condition, Load points, 2D boundary conditions, 2D precipitation and evaporation or 2D infiltration).
- ID – The MIKE+ ID
- Type - Boundary Type in MIKE+
- Temporal variation - Can be constant, Cyclic or Time series.
- Use in Scenario - If ticked, a model object is created on the scenario.
-
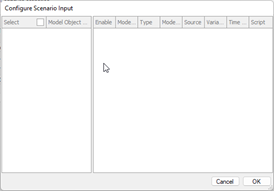
Configure Inputs
Configure what inputs to include in the scenario and what time series or scripts to use as input.
-
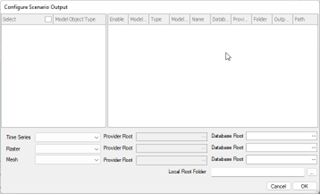
Configure Outputs
Configure what outputs to include in the scenario and where to store the outputs.
-
Hot Start
Configure hot start.
Click Finish to Complete the model registration wizard.